There are many domain hosting companies e.g. Google, WebFaction, NameCheap, GoDaddy and more. It’s all depend on your usage and preferences to choose your domain hosting company. You may start with one then transfer to another later if the pricing or storage does not suit your usage.
1. Check Domain Availability
So I have chosen NameCheap as my domain hosting company. Here are some screenshots for you to have an overview of buying a domain for your own site or company or even product.
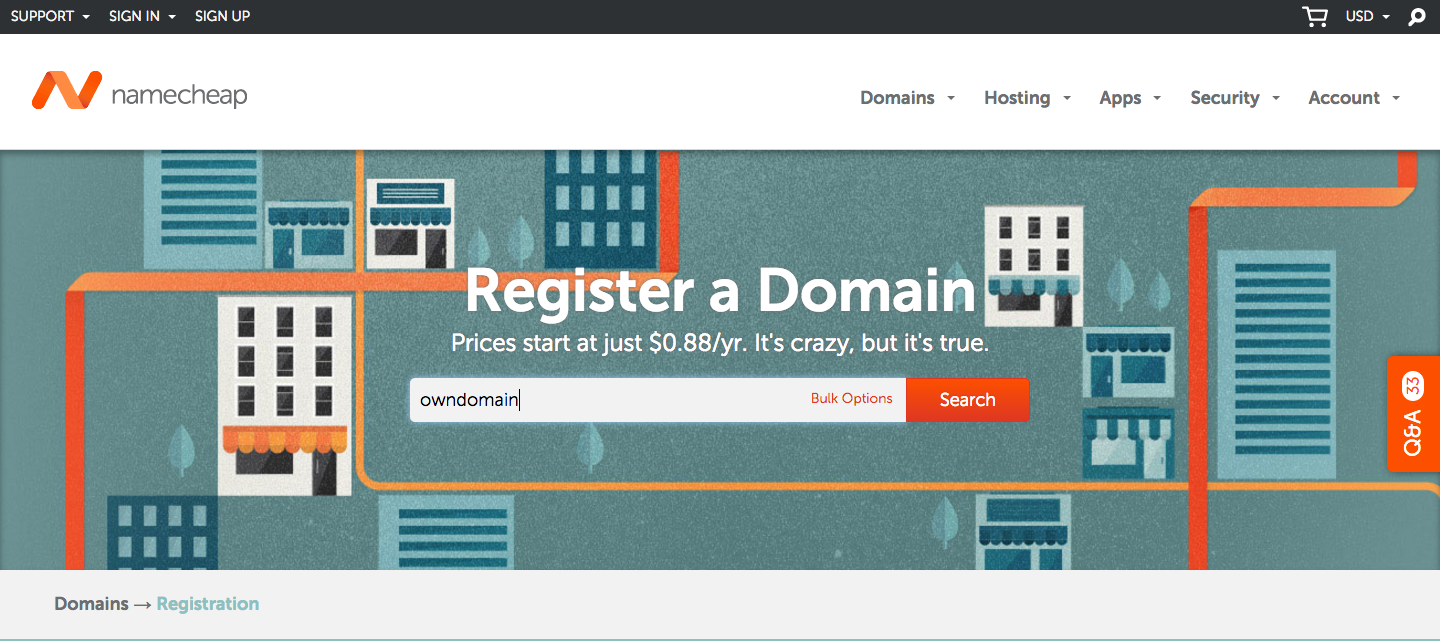
Type in the domain you want to search for.
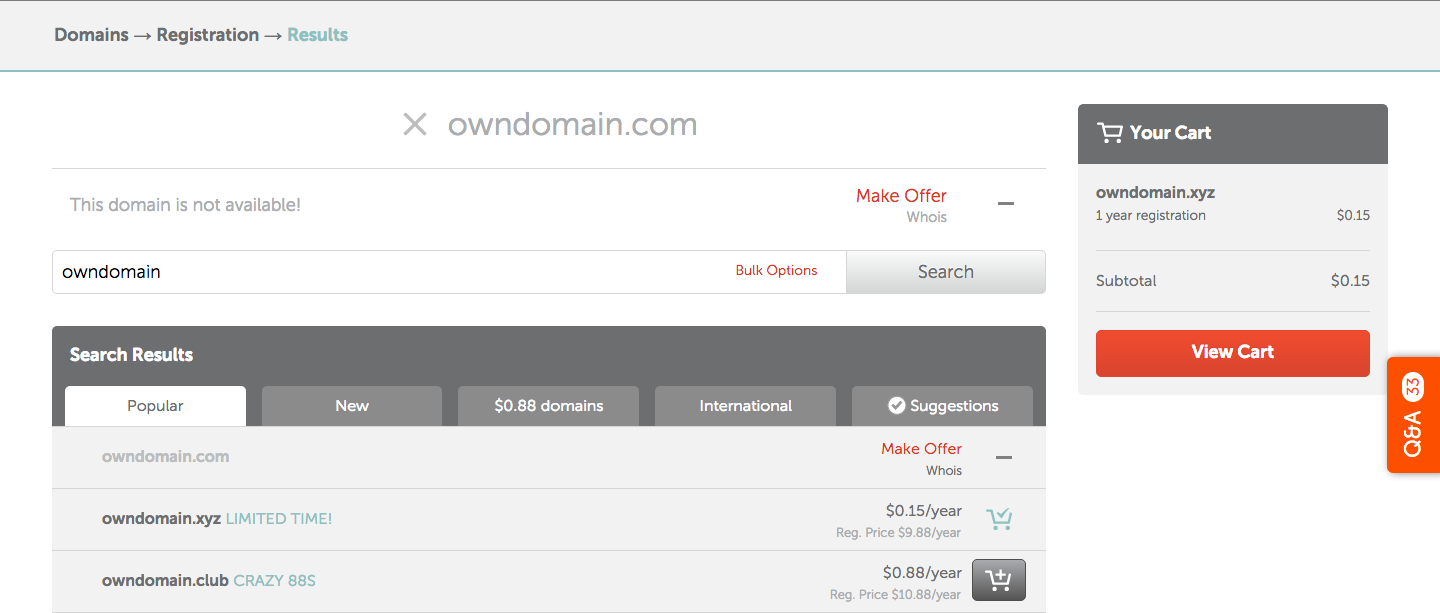
They list out all your preferred domains with available top-level domains (TLDs) e.g. .com, .xyz, .club and so on. Sometimes the domain you are searching is not available because it is sold out. You may make an offer to the owner to buy the domain but the process is not included in this post. Or you may think of other domains that you want for site. There are some limited time offers by NameCheap for some popular TLDs. So choose your domain with your favourite TLD and add it into your cart.
2. WhoisGuard and Premium DNS
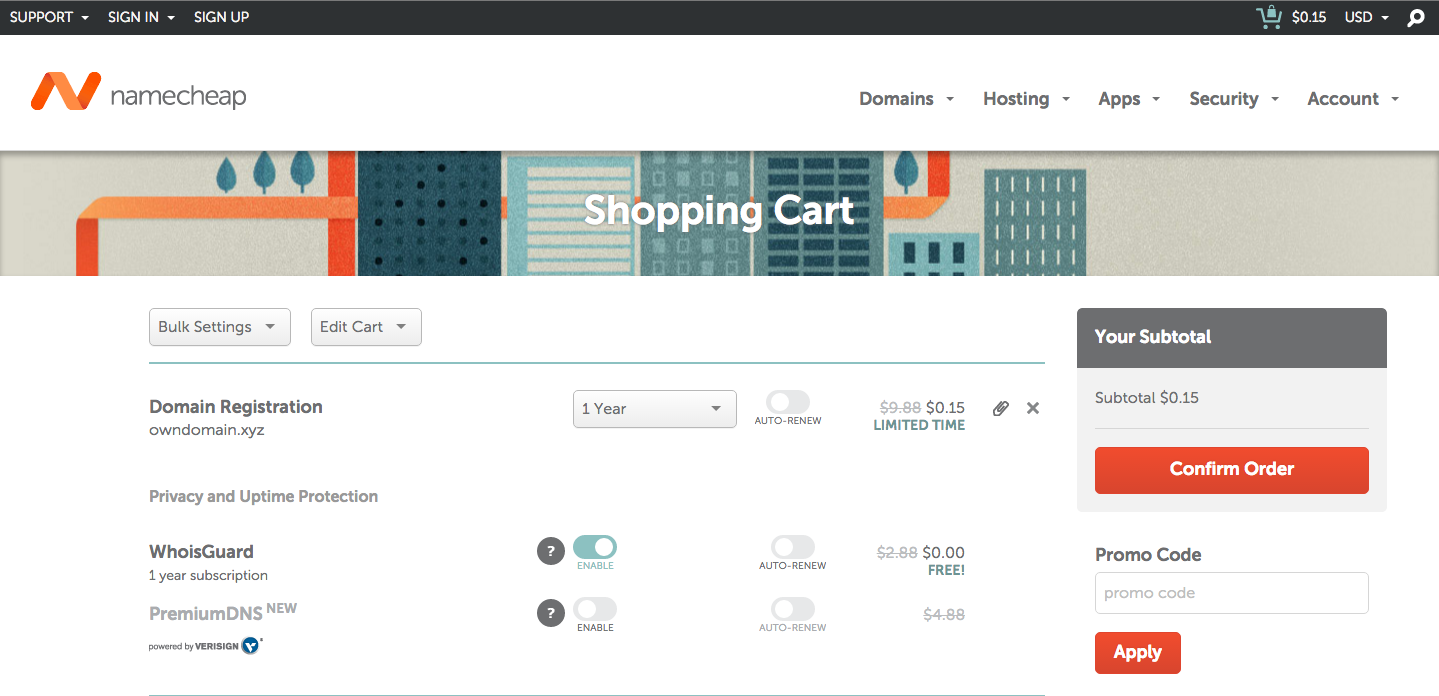
Here you will see your domain is added to cart. By default, one year of free subscription for WhoIsGuard is offered by NameCheap. You may enable the Premium DNS service by NameCheap but please take note that fees will be charged into your cart. You may enable the auto renew options for your domain. If you have a Promo Code, apply it for your order.
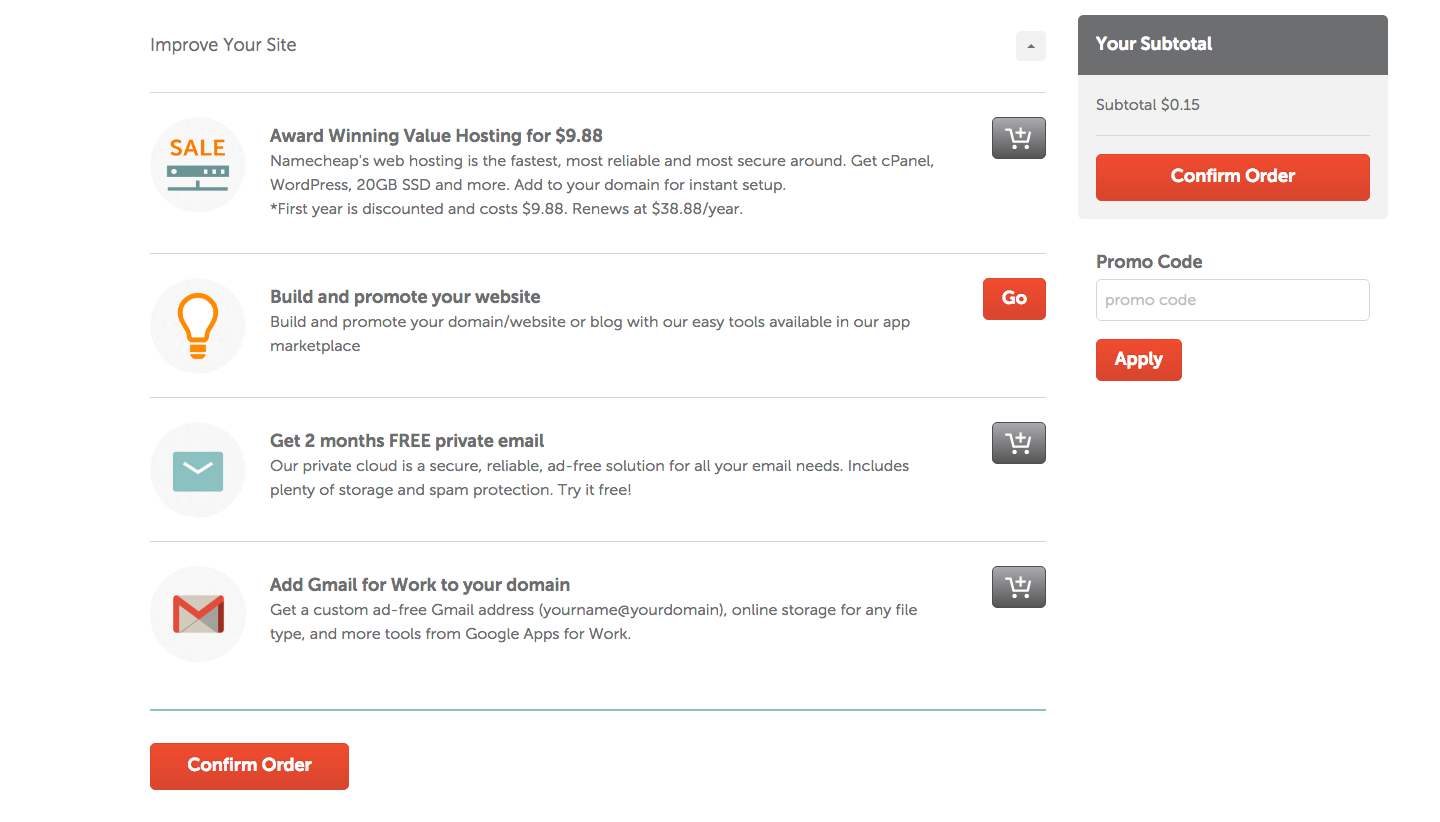
There are some extra options for you to improve your site before confirming your order. Please take note that fees and charges may add to your cart if you choose any extra options. After this, you may confirm your order and proceed to next page where you can see the screenshot below.
3. Sign Up
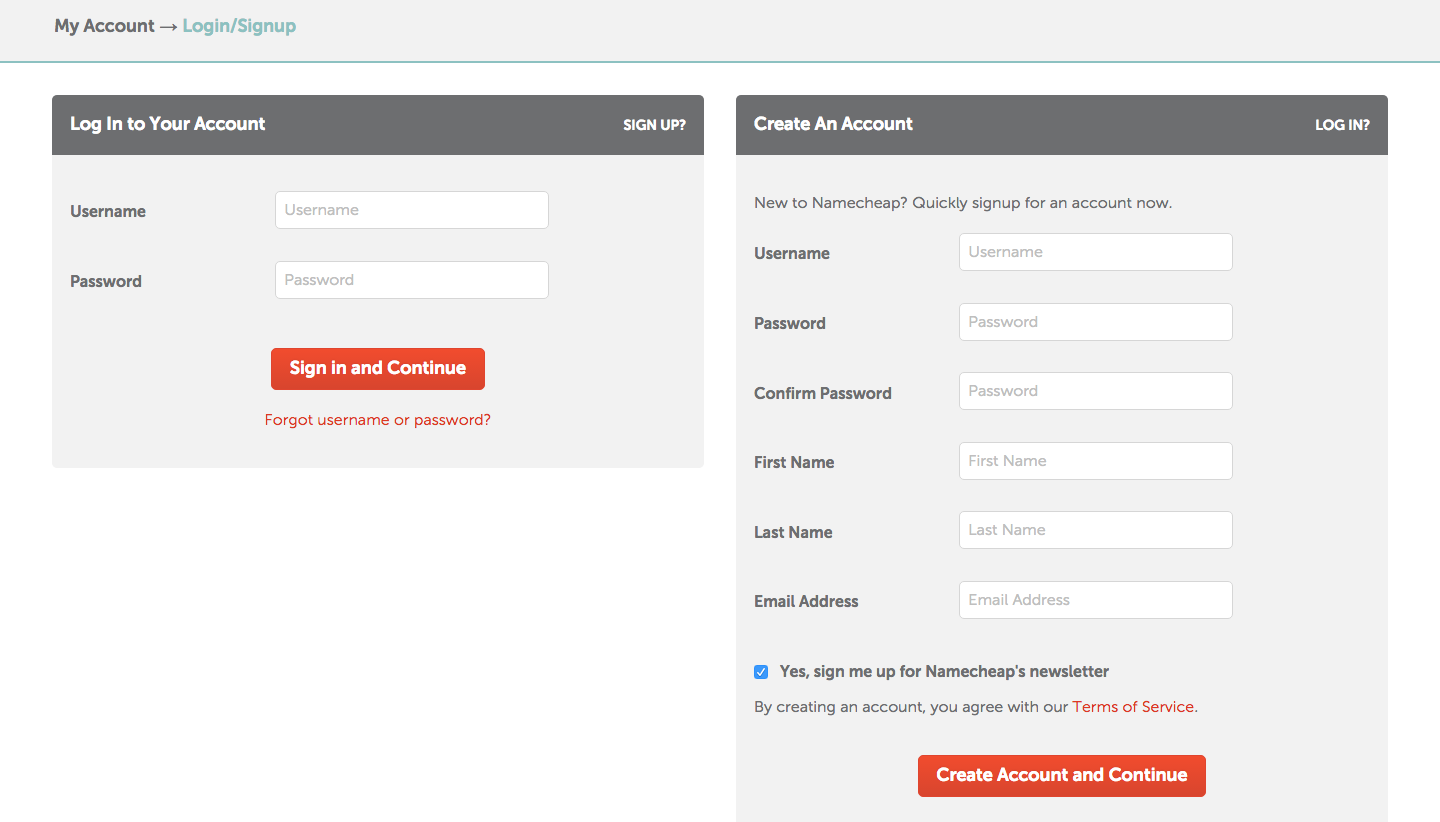
At this point, they will show you a page where you can login to your NameCheap account if you have one else you need to sign up one before proceeding to payment.
4. Checkout
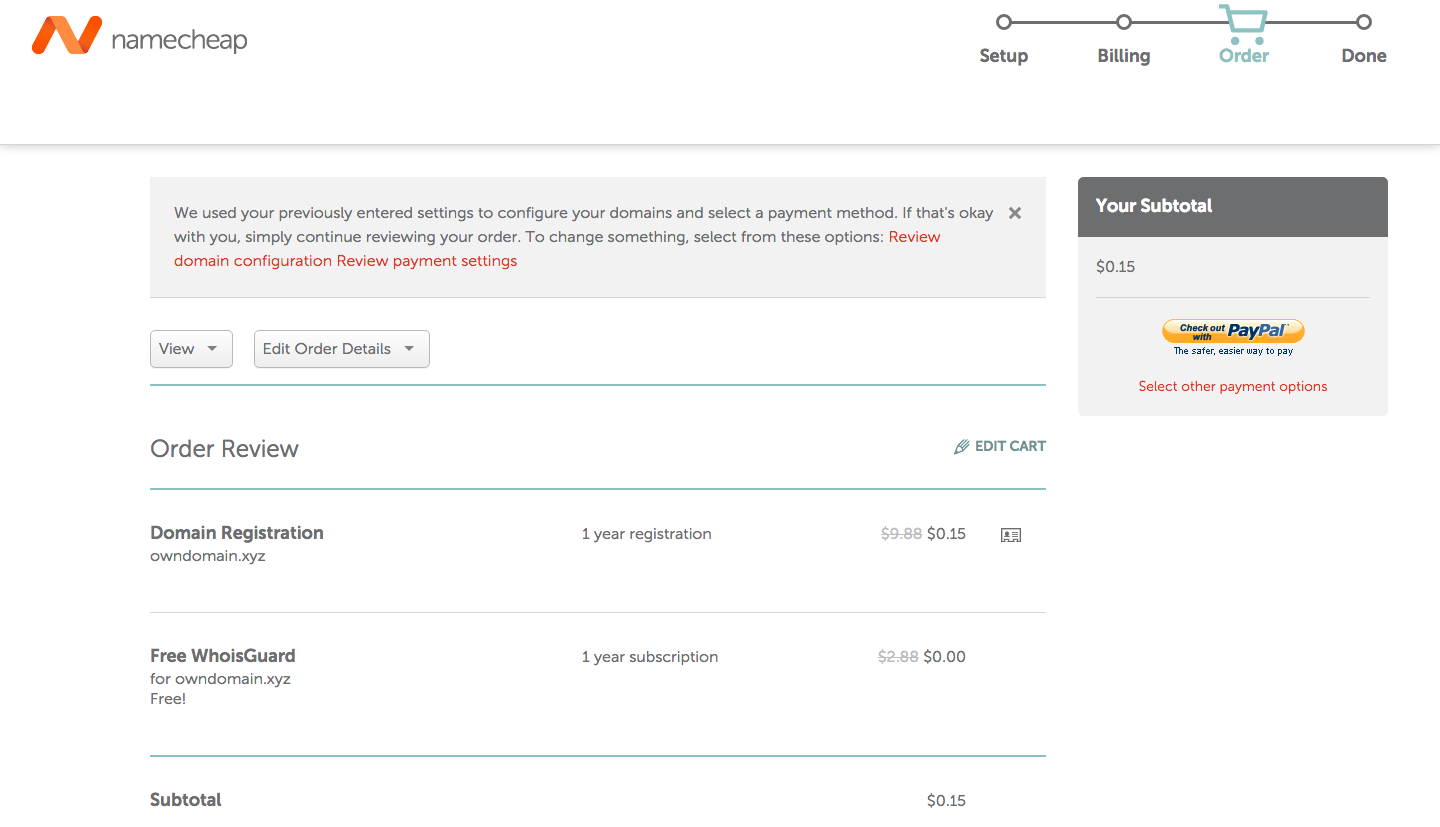
After you have signed up an account or login to your account, you will see a summary of your order here. PayPal payment channel is selected by default.
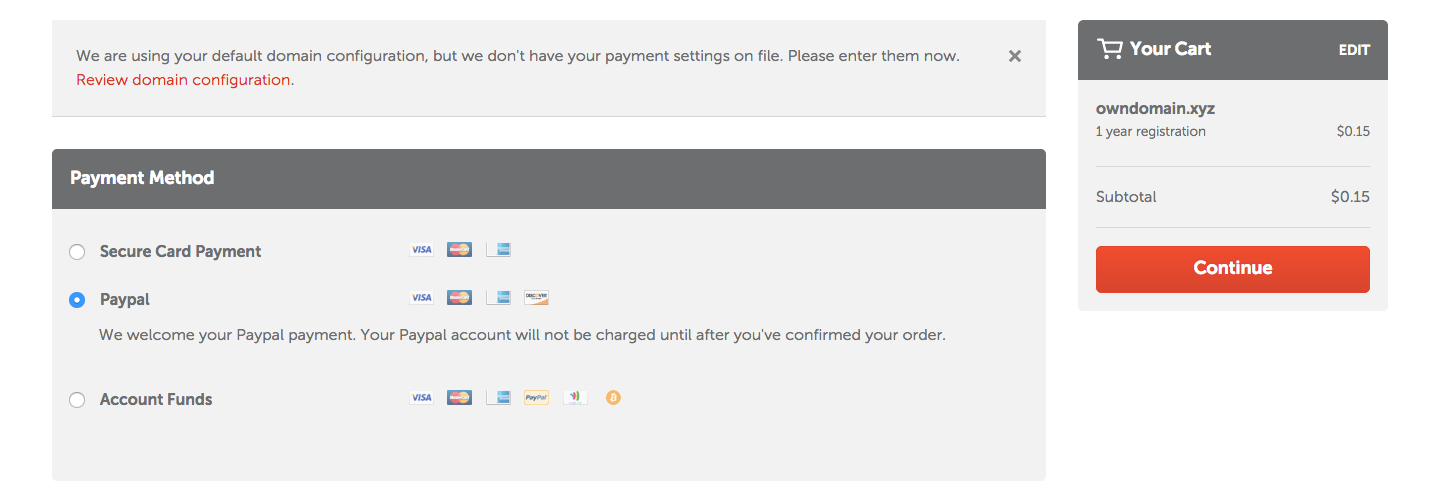
You may choose the payment channel that you are comfortable with. They offer quite a lot of payment channels for users e.g. Visa, MasterCard and AMEX.

After you’ve selected your preferred payment channel, you may proceed to payment. And tada! Now you got your very own domain.
Stay tuned yea for next step to get a server hosting company for your site!